Wednesday, December 28, 2016

Power supplies for charging

My old "brick" style 12v power supply failed after traveling (squealing caps), and i'd wanted to upgrade to something stronger anyway.

I was tempted to use a 1250w HP one I had in a 1RU server in the shed but that server has another purpose, and besides it's damn noisey!

So I settled on a Corsair VS450 PC power supply, for a few reasons which i've listed at the bottom, but basically: clean 12v rail, reliable, cheap ($54 AUD), I could pick one up from the local PC store


Of course, a few modifications are needed..

Opening it and voiding the warranty you see the 12v rail (yellow wires)


I decided to cap off the 3.3v and 5v rails as I might use them in the future for Arduino/5v projects. The alternative is to desolder these from the PSU board, cross the PS_ON (see below) directly and only have the two 12v rails.. 

So, a bit of shrink wrap as below, before taping:


I then soldered the two 12v lines to create two 12v outputs, directly in to XT60 adapters


Shrink wrap before taping before wrapping again


That basically gives you the two lines:


Because the power supply is for a PC, it needs a switch to enable 'on' mode (PS_ON). Simply shorting the 16th wire in Green (ATX supply V2 standard), you basically turn it on:


And you're done!

This covers my two chargers at full rate with some headroom, 380w and 30a, as the power supply does 408w and 34a


Why I chose the corsair VS450
  • Corsair are known for their reliability
  • The output is clean and reportedly quite good on the 12v rail specifically
  • It's super quiet with a dynamic fan based on heat/draw not feedback from a PC
  • The specs covered what I had charger-wise today with some head room at max capacity (408w 34A)
  • It was only $54 AUD, going up to 600-800w was > $100 for something good
  • I already had one wired to my 3D printer so now had a degree of failover :)
  • They had one at the local PC shop I could collect today

Monday, December 26, 2016

Attracted to water


Apologies for the poor tune at the start, two maiden builds
Realacc/x210 (https://goo.gl/uJ0nUi)
ZMX X25 2300kv (https://goo.gl/JyKPoL) 
HQ DPS5x4x3 (https://goo.gl/kkm7NY)
Joos batteries (https://www.instagram.com/p/BN0-ZlKDUY0/)
1080p/60 using EKEN H9R (meh, but better than Xaomi Yi running Waffle as seen at the very start)
Track by @Jukan (Soundcloud)

Tuesday, December 20, 2016

ESC caught fire

After hitting a circular gate racing on the weekend, my quad tumbled and landed upright.

I went to take off but one of the motors/props was out, so I assumed a busted prop..

Then, it caught on fire - good orange/yellow flames visible from 20 meters, a mate ran over (I was de-goggling and putting glasses back on), picked it up and blew it out - man it stinks..


Advice - don't use cable-ties/zip-ties on your arms to hold ESC in place, it makes them overly rigid and more prone to stripping electronics off the top. This is the second XM20A to fail, I don't think i'll be using those ever again.

And follow me on Instagram here -> @dronerant


Monday, December 19, 2016

3D printed quad shell

Design extraordinaire Perry custom designed this sleek outer shell for the QAV-X/RealaccX210


Yup, that's an 'internal' VTX antenna at the back!


Did I mention all the internals are also 3D printed!


He's calling it the SlipX, and is planning to make it available online for a small fee (i'll link it here when it's up)

Can't wait to try it, one of the big advantages and innovative points is the internalising of the VTX antenna, great move for all-day reliable racing


Follow me on Instagram here: https://www.instagram.com/dronerant/


Thursday, December 8, 2016

Xiaomi Yi wedge (4th iteration)


I'm pretty happy with this iteration, 35 degrees, 9.7gm, raised cable-tie mount, fits snug with the camera face-protector .. very happy overall


Printed on the side so the lines of the print go with the maximum stress point, which is front-on crashes of course :)


Only 9.7 grams (0.34 oz)


Wednesday, December 7, 2016

Xiaomi Yi wedge


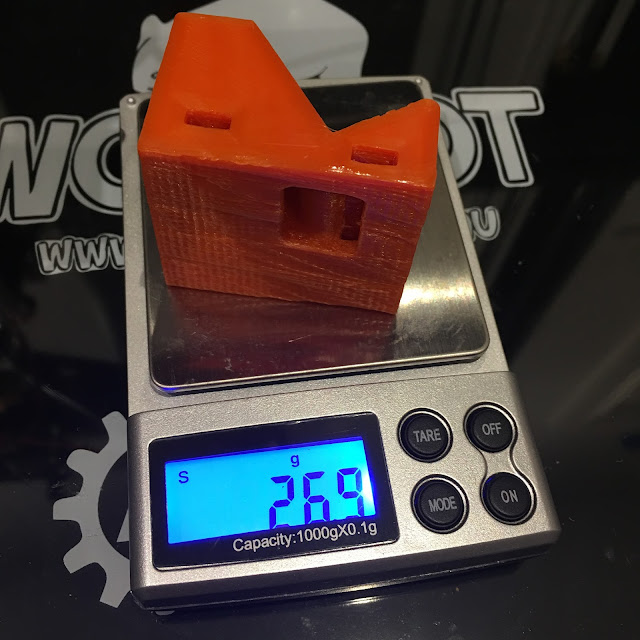
Below is a 35 degree Xiaomi Yi wedge a friend and I designed, it's way over engineered.

I printed it as solid just to see, hence why it's 2.5-3x the weight of my other lighter ones which do just fine :)


But this is ridiculously strong!

Tuesday, December 6, 2016

3D printed Xiaomi Yi faceplate


A few different iterations of a Xiaomi Yi faceplate. This holds in the glass lens-protectors, albeit the glass pops out almost every major crash leaving the glass-frame only


Sunday, December 4, 2016

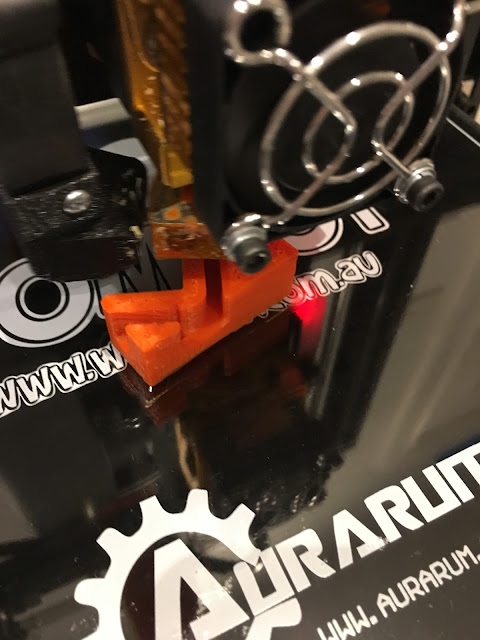
Xiaomi Yi camera wedge, first iteration (learning experience)


Below is the first iteration of a Xiaomi Yi camera mount for a quadcopter/drone, basically a GoPro holder/cradle.

I printed it vertically, which meant it sagged and was weak in terms of peeling away from the quad once cable-tied in.. Not great at all, it did a few flights, worked ok, but eventually peeled away.


Straight after the print.. not inspiring


I lifted the left a little in the design due to the nuts being in the frame, average.. Not the stringy pieces even in the cable-tie holes. Crappy!


Friday, December 2, 2016

Misc things i've 3D printed


Just a few of the things i've printed to date..

Aomway antenna holder/protector


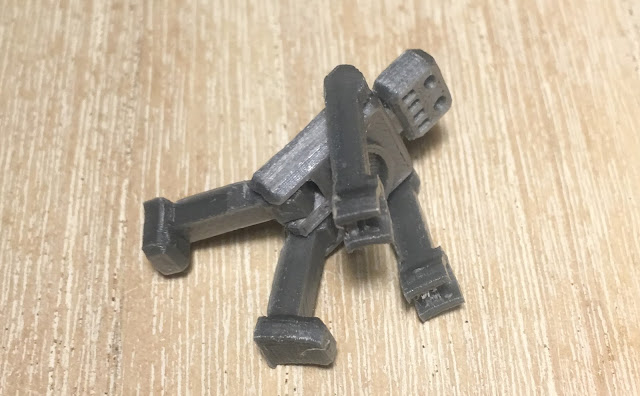
Articulated robot, with ball-joint printed arms/legs:


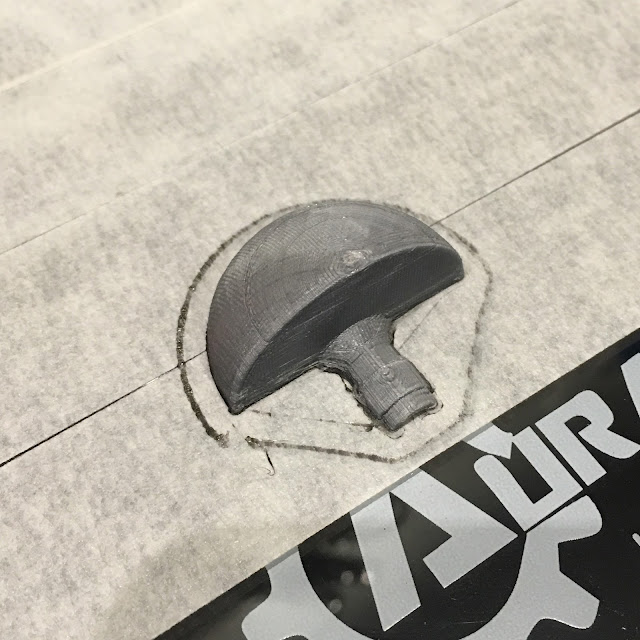
Bolt and nut:


Thursday, December 1, 2016

3D printer, I resisted as long as I could...


I resisted as long as I could, and finally broke and bought a 3D printer when they came under $1k AUD.

Whilst i've mostly printed drone/quadcopter parts and the odd toy/thing for the kids, showing cousins and others how they work and triggering ideas in others, is a great thing

I chose the Wombot Exilis which for $980 AUD is awesome value. It's semi hobby-ist, but no soldering, no complexity, just initial alignment and then adjusting every 40 hours of printing they suggest.


It came like this:


Some of the parts are 3D printed, see below -it's actually cracked straight out of the box.. Apparently now they are injection moulded to avoid this, I should really contact them to replace


"standard" 1 button/wheel interface, works well once you use it


I had to change the filament and it got stuck, so un-screwed the extruder as below and cleaned it out. Now i'm using an old sparkler wire with padding on the end to push the filament through once heated, which means I don't need to disassemble as below :)